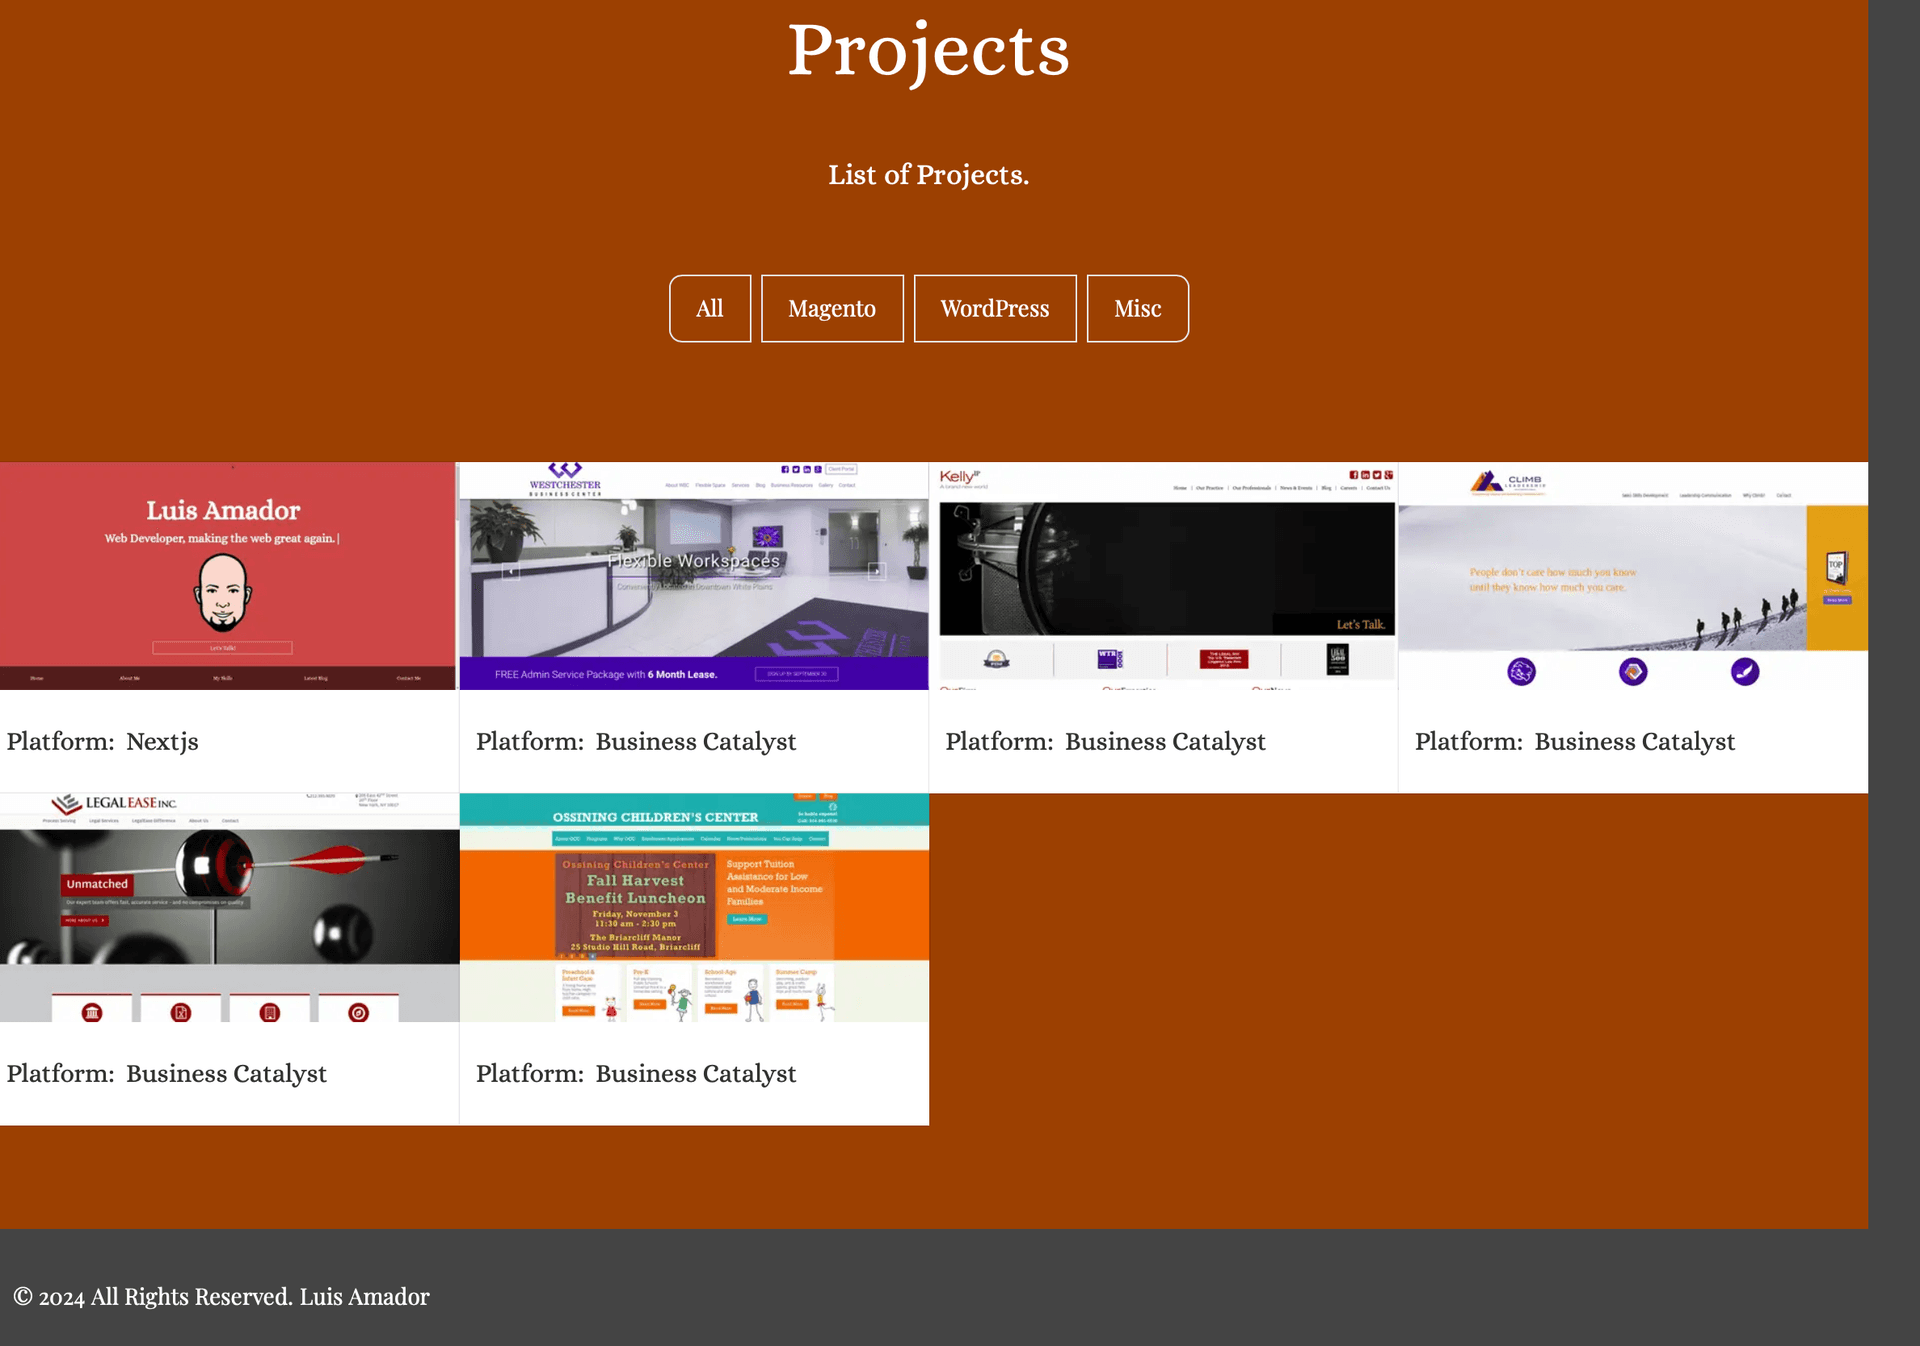
Headless Wix CMS REST API with Nextjs Server Components

I had every intention to make a real RestAPI call to an external database but got too busy to get around to it until this weekend. I wasn’t sure what database platform I wanted to go with. At first I was looking at SuperBase since it’s free and looked to do what I needed. I did play with the code a bit but got busy with life again.
At this time, I was also looking for a modern alternative to building websites that wasn’t WordPress. For one, I don’t like coding PHP, I like living in javaScript land. With some Googling around I found Wix Studio. A newer product that launched about a year ago. I really love this platform. It made building websites fun again. I was excited to see that they offer a headless SDK where you can call an exhausting list of RestAPIs. I was even more excited when I was able to use the CMS RestAPI free of charge.
The implementation of this is very straightforward and simple. I intend to show you how I did it.
Set up OAuth authorization on Wix.

Create a .env.local file where you will place your Client ID. Please don’t share this key.

Install the SDK and relevant SDK module packages.

Install the react package to handle UI rendering and the js-cookie packages.

Create your CMS collection and add content to your collection/database in Wix. I loved how easy this was. Wix even supplies AI to tell it what you want it to create so you don’t even have to waste time and can get right straight into coding.

Import the SDK modules and create an SDK client component. I made this it’s own component so I would be able to reuse it if so be it.

I then created a React Server component project page. I decided to break my project page into several components. I did this so I can mix in a client component to give the page interactivity to filter the list of projects. This can only be done using the useState hook. In order to pass down my RestAPI object down to the child components I created a prop’s variable, initialProjects, to do so.

This is the component where I am using interactivity to filter the project when the button of option is hit. Here is where I’m using the initialProjects props to set the filter for useState and I create another prop variable so I can keep moving my RestAPI object down to the next child component.


The next React Server component is where you start to enjoy the fruits of your labor. This is when you get to view the RestAPI showing up on the front-end of your page. If everything is done right, you should see all your CMS content that you added into the CMS of Wix.

This last topic was a surprise to me and what took me the longest to figure out. I should have known there would be a catch and learning curve that would be time consuming to figure out. This was getting the images to display that I uploaded to the Wix CMS database. The code to this point was the wix-data API to grab all of my RestAPI data. What I didn’t know was that I would need to use another Wix API, media, that I wasn’t aware of. I also made this it’s own component so that I could use this component wherever I needed too.

That’s it! We have reached the end. If you have made it this far thank you for reading. If you have any questions or need help getting this to work feel free to email or join my Discord. My next blog will be converted to use the Wix Blog RestAPI. I’ll be moving away from using Sanity as I’m very happy with Wix as a platform and will be doing all of my website in Wix and building my apps in Nextjs.
Happy Coding!!!